Disclosure: This Frozen cupcakes page contains affiliate links. Read full Disclosure Policy.
Frozen cupcakes are fun Disney recipes to make. You might also enjoy more Disney cupcakes, Minnie Mouse Cakes, Mickey Mouse Cakes, and Harry Potter Cakes.
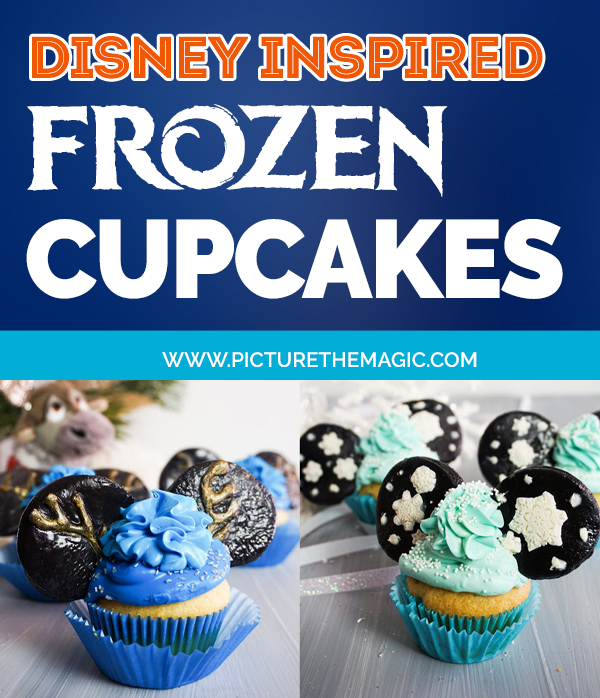
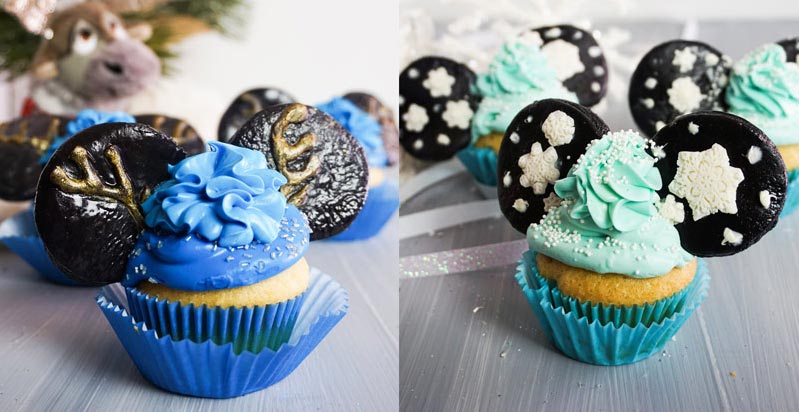
To celebrate, I made these awesome Frozen cupcakes, in the style of Queen Elsa and Sven–because that queen and that reindeer are the best.
I mean, sure, everyone loves the duo of Anna and Olaf, but I’m going to be honest, that reindeer and the Queen are by far my favorites. Sven never says a word, but he’s such a character, regardless. And the bad-girl that is Elsa? Well, I’ll never let her go.
So, if you’re ready to make a Frozen inspired cupcake, get your blue food coloring ready!
You might also enjoy these Frozen coloring pages to go with your Frozen party!
Easy Queen Elsa Cupcakes and Sven Cupcakes
A couple of notes before we start making these cupcakes for your Frozen party:
If you want to start with your favorite easy cupcake recipe, that’s great. Whether it’s a cake mix cupcake or your grandma’s, you do what makes you happy.
The same goes with fondant. If you like to make your own marshmallow fondant, that’s awesome. But, if you’re at all like me, grabbing fondant they have on the shelf seems like a lot more fun. So, again, do you.
Last tip, if you have never worked with fondant, you don’t have to be intimidated. It’s actually really easy to use:
- Just roll it out like you would cookie dough, but use powdered sugar instead of flour to lubricate your rolling pin.
- Then, make sure you let your fondant creations dry out for a couple of hours before trying to stand them up in your cupcake–because otherwise, they’ll just flop over.
Bonus: download the Frozen font for your personal use.
What You Need to Make Queen Elsa Cupcakes and Sven Cupcakes
- 6 Vanilla Cupcakes
- 1 Can (3 cups) of Your Favorite Vanilla Frosting
- Light Blue Food Coloring (for Queen Elsa Cupcakes)
- Dark Blue Food Coloring (for Sven Cupcakes)
- White Sprinkles
- Silver Sprinkles
- Rose Decorating Tip & Piping Bag
- 2-inch Circle Cookie Cutter
- Black Fondant
- ½ Cup White Chocolate Melts
- ½ Cup Brown Candy Melts
- Gold Edible Glitter (luster dust)
- Parchment Paper
- Snowflake Mold
- Small Circle Piping Tip & Piping Bag
- Paintbrush
How to Make Queen Elsa Cupcakes and Sven Cupcakes
Click here for a free download of printable instructions.
Bake your vanilla cupcakes.
Once you’ve made your cupcakes, set them aside to cool completely. Icing and warm cupcake, while tasty, is about the worst combination ever because your icing will not stay in place.
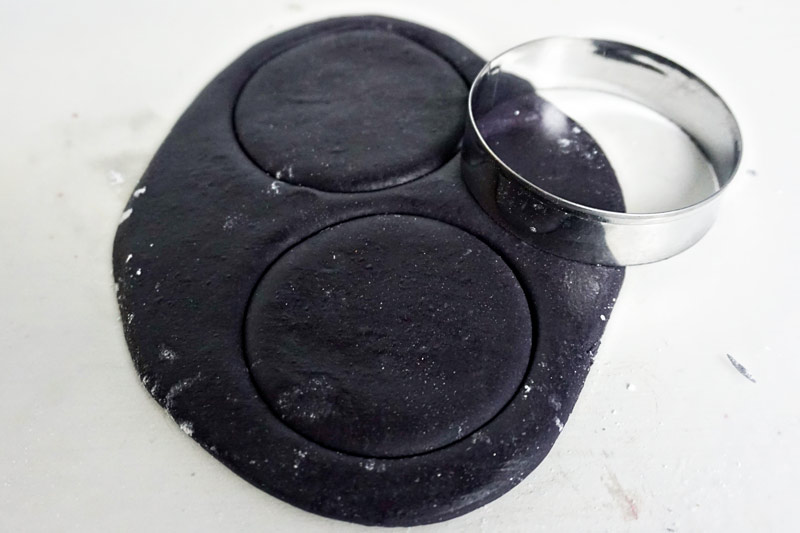
To make the Mickey ears, roll out the black fondant to about ⅛-inch thick on a sheet of parchment paper.
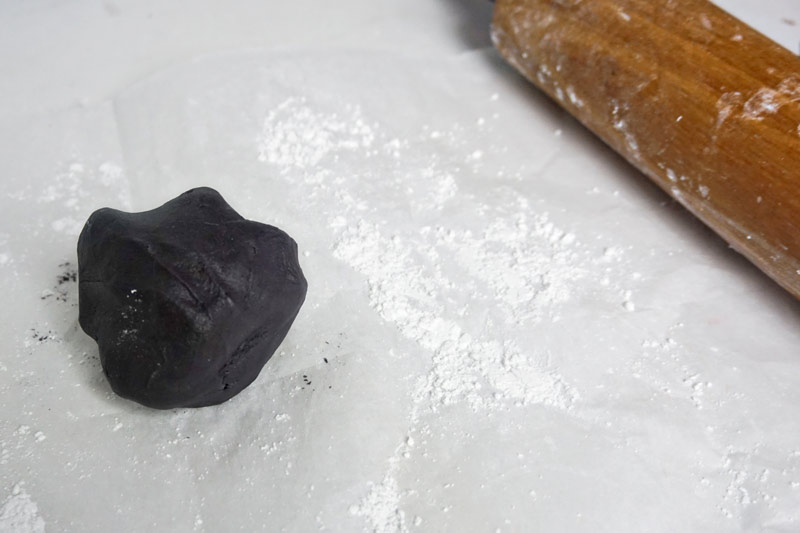
You definitely want it to be thick, in this case, because you need it to stand up. With fondant being super thin, you’ll never get the Mickey ears to stand up, no matter how long you let them dry. So, stick with ⅛-inch thick.
Cut out 2 rounds of black fondant for every cupcake. Do not try to transfer the rounds, rather pull the excess fondant away from the ears. That way you don’t mess up the shape.
Set these aside for a minimum of two hours to dry out. If you can leave them overnight, that’s even better.
While the ears are drying, make your snowflakes and antlers.
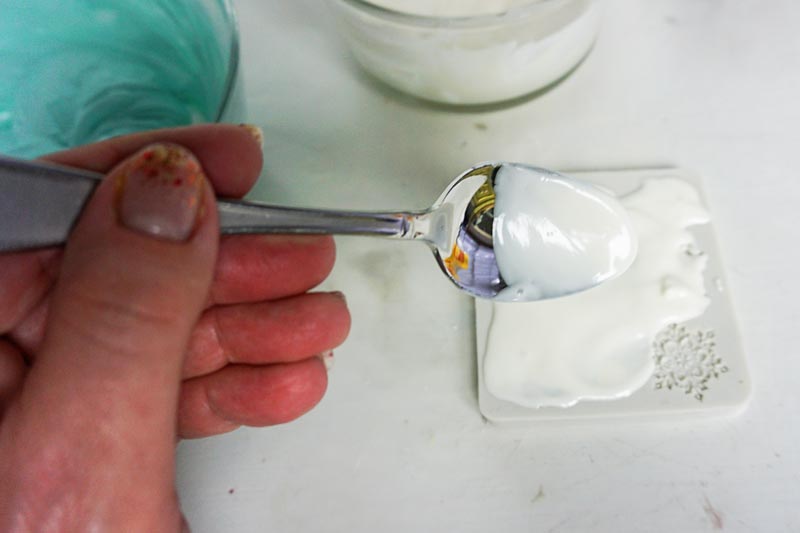
To make the snowflakes, melt your white candy melts in a microwave safe bowl in 30-second increments, stirring between each increment until the chocolate is melted.
Pour this melted white chocolate into your snowflake mold and place it in the refrigerator for about 20 minutes to set. You may need to repeat this process to make enough snowflakes.
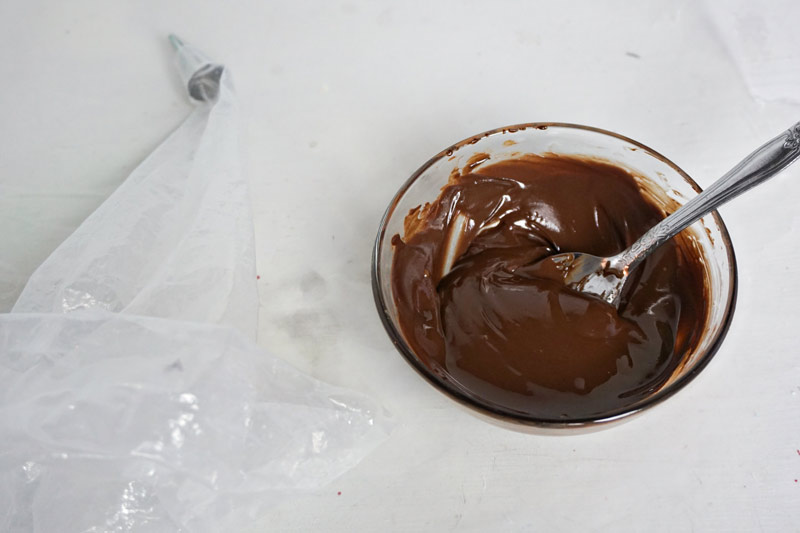
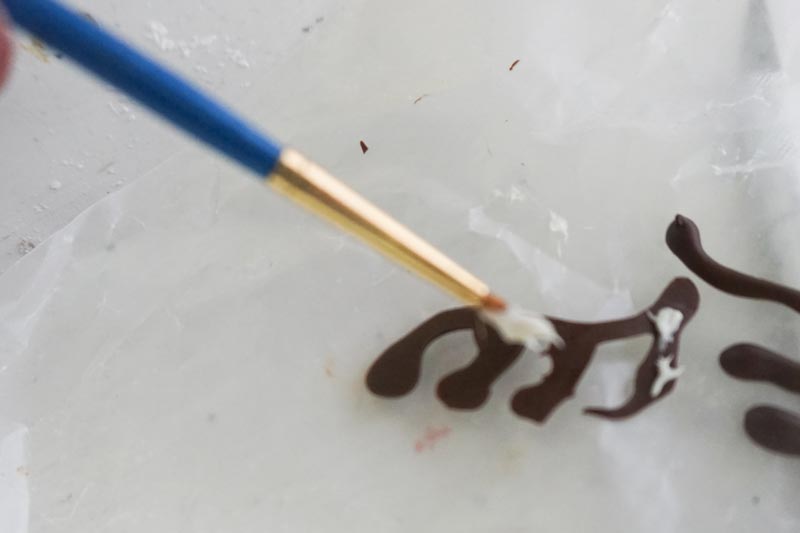
To make the antlers, melt your chocolate candy melts in a microwave safe bowl in 30-second increments, stirring between each increment until the chocolate is melted.
Place this melted chocolate into a piping bag with a small round tip.
On a sheet of parchment paper, pipe out antlers in an antler shape, two for each cupcake.
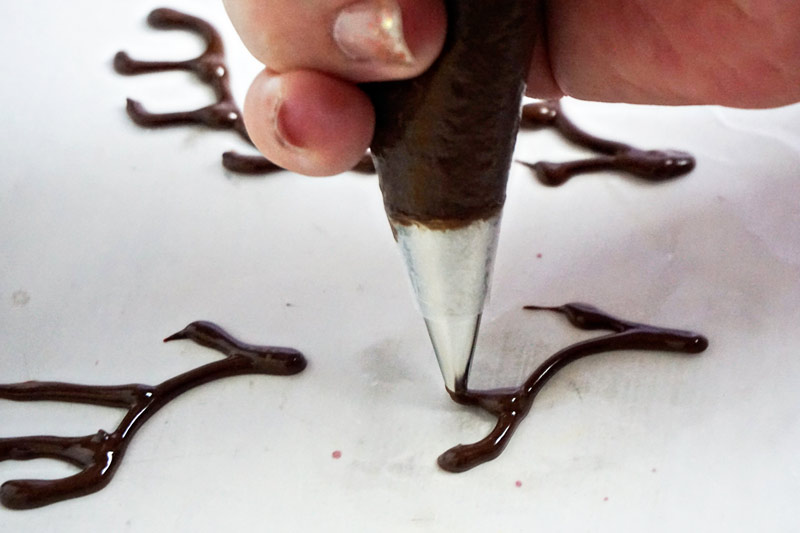
Place the antlers in the refrigerator for about 20 minutes to set.
Adhere your snowflakes and antlers to your fondant Mickey ears by applying a small amount of icing to the back of the snowflakes and antlers, then setting them on the fondant.
Place the fondant ears into the refrigerator for about 10 minutes to allow this icing to set.
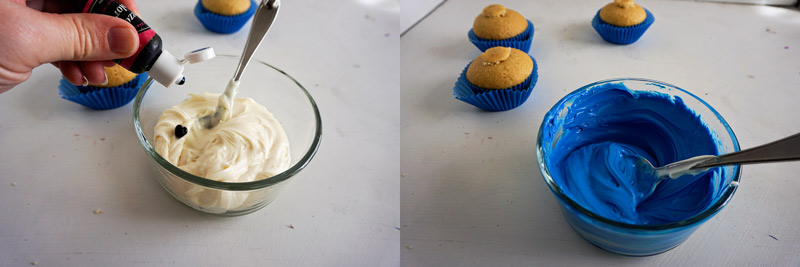
While those are in the refrigerator, make your blue icing.
I used dark blue food coloring (about 5-10 drops will do) for the Sven cupcakes and light blue food coloring (about 3-5 drops) for the Queen Elsa cupcakes.
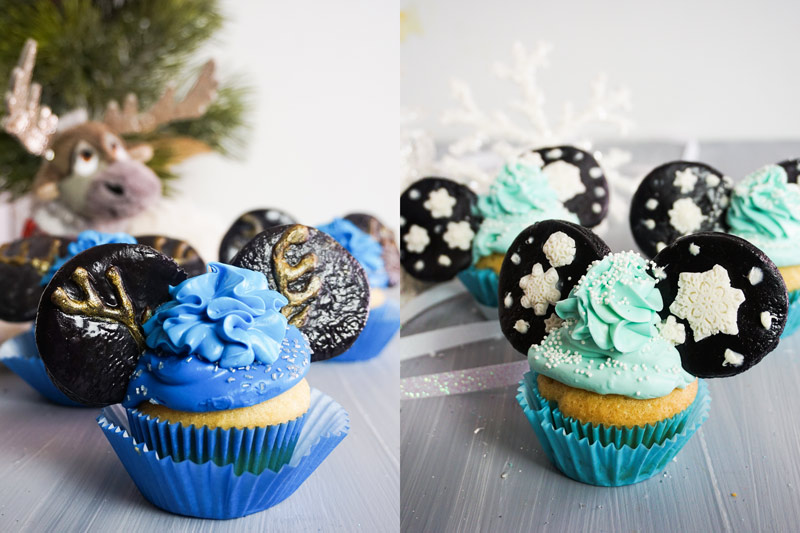
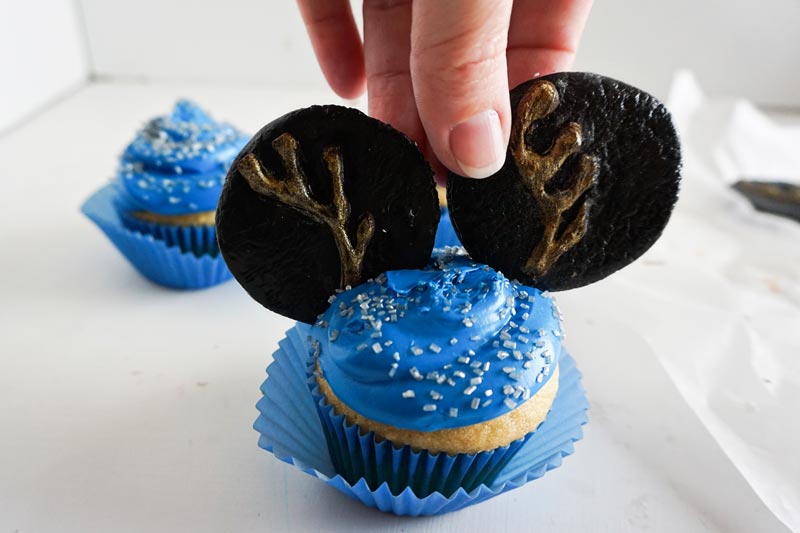
To make the antlers more apparent on the Mickey ears, remove the Mickey Ears from the refrigerator and paint each antler with a small amount of the gold luster dust.
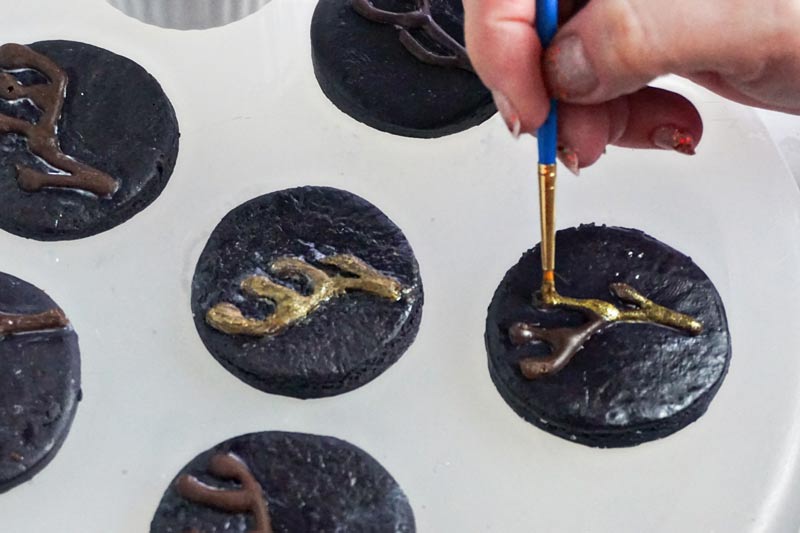
Allow this edible glitter to dry, about 5 minutes.
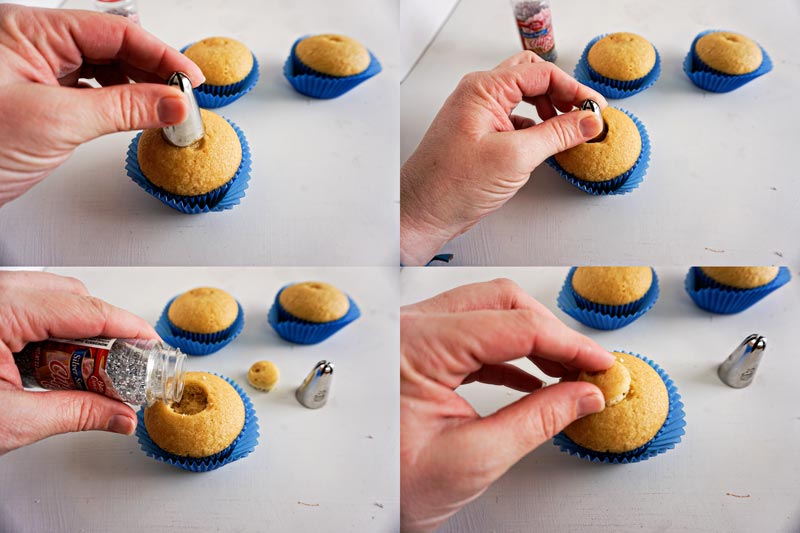
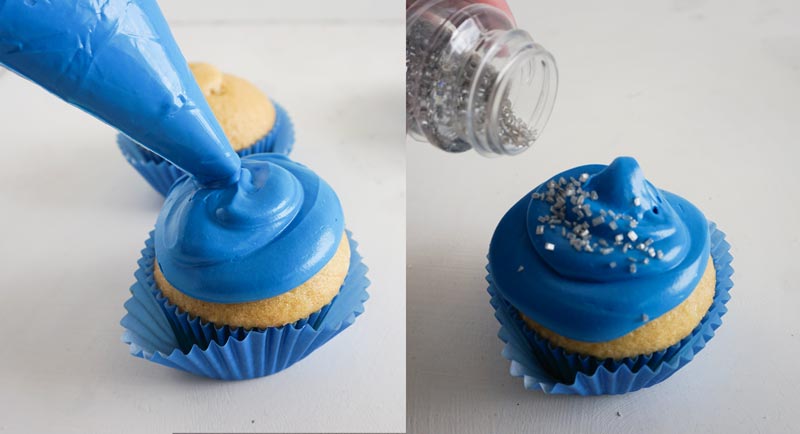
Using your largest decorating tip, cut a hole into the top of the cupcakes and fill with a small amount of sprinkles for a fun surprise.
Replace the top of the holes in the cupcake.
Ice each of your cupcakes with about half of the icing you would normally use. Then add sprinkles on top. I used silver for Sven and white for Elsa.
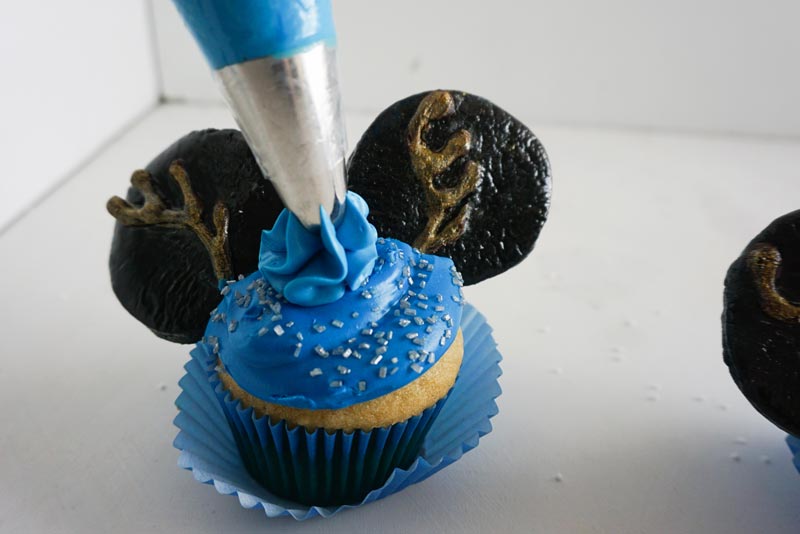
Tuck two ears into each cupcake on each side. Immediately place the cupcakes in the refrigerator for about 20 minutes to set the icing.
Once the icing has set, finish icing each cupcake and add a few more sprinkles.
Enjoy!
If you love these awesome Mickey ears cupcakes, be sure to pin them to your favorite cupcake recipes board on Pinterest–that way you can find them again quick when you’re ready for a bite!
Want Printable Instructions?
To download a printable version of these instructions, simply click the button below:
Frozen Movie Cupcakes
As a parent, party planner or teacher, you may have been faced with the task of creating a Frozen party. If this is the case, then cupcakes are likely on your list of things to do. You could buy them from the store, but it will be better if you take the time to make them yourself. Here are a few reasons why:
- You can make them healthier by using different types of ingredients
- They taste better when they are homemade 🙂
- They can be personalized to fit your theme and make your party more special
If you decide to make Frozen cupcakes for your party, you will need to have a reliable recipe to work from. This recipe is sure to help you make amazing cupcakes for your party.
Pin for Later